Coffee
Your Coffee Storage Is Wrong: The 5 Things You Must Avoid Immediately
Author:Tooba
|
Released:November 4, 2025
If you’re spending money on good beans and investing time in brewing better coffee at home, storage mistakes can ruin it all. Even the most expensive grinder or precision kettle can’t fix stale, flat, or oxidized beans.
Here’s what to stop doing immediately if you want consistent, full-flavored coffee. Fixing these five things will protect your beans, improve your brews, and make every dollar you spend on gear and beans go further.
1. Keeping Beans In The Bag They Came In
Most retail coffee bags aren’t built for long-term storage. Some have one-way valves, but many don’t seal completely after opening. Oxygen and moisture sneak in every time you roll the top or use a paper clip.
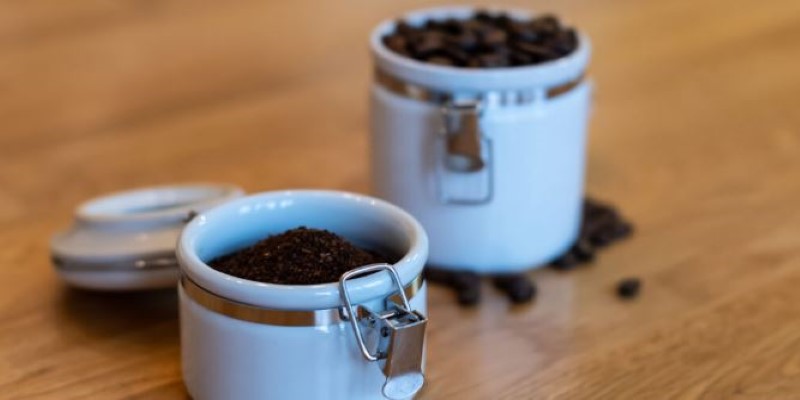
Better option: Use airtight containers with vacuum or CO₂-release features. The Fellow Atmos ($30–$35) actively removes air inside with a twist-to-seal lid. Coffee Gator and Airscape also offer solid mid-range canisters in the $20–$30 range. Look for dark-tinted or stainless models that block light, which is another bean killer.
If you're on a budget, Mason jars can work for short-term use, but only if stored in a dark cabinet. Just avoid clear containers on open shelves.
2. Refrigerating Coffee Beans
This one’s still common, and it does more harm than good. Cold environments introduce condensation when the beans are taken in and out. Moisture ruins freshness and pulls oils to the surface, which affects grind consistency and taste.
Never store beans in the fridge or freezer unless they’re sealed in vacuum-packed bags and you’re not opening them until later. Once opened, the temperature change every time you brew causes damage.
Keep coffee in a cool, dry cabinet. Aim for 60–75°F with no direct sunlight.
3. Buying More Than You Can Use In Two Weeks
Coffee starts degrading fast once roasted. After about 14 days, you’ll notice changes in crema, aroma, and overall clarity. Buying a full pound of beans just because it’s cheaper doesn’t pay off unless you’re going through it quickly.
Solution: Buy in smaller batches. 8 oz or 12 oz bags work well for most households. If you brew once a day, that’s about a two-week supply.
Brands like Onyx, Verve, and Stumptown offer smaller bags without inflated pricing. If you're using a subscription, look for roasters that allow flexible delivery sizes. Trade Coffee and Mistobox let you fine-tune frequency and bag weight.
4. Storing Near Heat Or Steam
Placing coffee near your oven, stovetop, or even above the dishwasher exposes it to temperature swings and humidity. These elements speed up oxidation and create off-flavors.
Always store beans away from appliances and sinks. Pantry shelves or enclosed cabinets work best. If your kitchen gets warm during the day, consider a shelf in a cooler hallway or even a drawer in a home office.
If you use a grinder like the Baratza Encore or Fellow Opus, don’t keep beans in the hopper between uses. Transfer what you need for the day or week only. Hoppers aren’t airtight, and plastic surfaces can trap heat.
5. Ignoring Roast Dates
Avoid any bag that only lists an expiration or “best by” date. These are often months out and tell you nothing about actual freshness. What matters is the roast date.
Always buy beans roasted within the last 7 to 14 days. Some high-end roasters will recommend resting beans for 2 to 4 days post-roast, especially for espresso. That’s normal.
If you’re shopping online, check the brand’s policy on roast-to-ship timing. Companies like Atlas Coffee Club and Blue Bottle roast to order and ship same-day or next-day. Avoid supermarket brands with long shelf lives and vacuum sealing—most are already weeks or months past peak.
Better-Than-Average Coffee Recipes To Try Now
Now that your storage setup is on point, your beans will taste fresher. Here are three recipes that highlight better flavor when using properly stored coffee:
Japanese-Style Iced Pour Over
What you need:
20g medium-ground beans (light to medium roast works best)
130g hot water at 200°F
90g of ice in the server or carafe
Hario V60 or similar cone dripper
Steps:
- Rinse the filter and add coffee to the dripper.
- Bloom with 40g of water for 30 seconds.
- Slowly pour the remaining 90g in circular motion over 1.5 minutes.
- Swirl to melt ice and cool quickly.
Flavor notes: Crisp, tea-like, and aromatic. Best with washed Ethiopian or Kenyan beans.
AeroPress Sweet Brew
What you need:
17g fine-medium ground coffee
220g water at 185°F
AeroPress + paper filter
Steps:
- Inverted method: Add coffee and 50g of water. Stir and bloom for 30 seconds.
- Add the rest of the water to 220g total.
- Steep for 2 minutes.
- Press gently for over 30 seconds.
Flavor notes: Smooth, lower bitterness, slightly sweet. Great with medium or light Colombian beans.
French Press Bold Brew
What you need:
30g coarse-ground coffee
500g water at 200°F
French Press (Espro P3 or Bodum Chambord are solid picks)
Steps:
- Add coffee and 100g of water to bloom for 45 seconds.
- Add the remaining 400g and steep for 4 minutes.
- Stir, skim the top, and plunge slowly.
Flavor notes: Full-bodied with oils intact. Pairs well with medium-dark roasts or blends with chocolate and nutty tones.
Final Thought: Fix Storage First, Then Upgrade Your Setup
Flavor starts at the source. Bad storage kills freshness, even in great beans. Skip these five common pitfalls to keep your coffee tasting better for longer and get the most out of every bag. Once your coffee stays fresh longer, try one of the recipes above and see the difference.
You May Like
-

-
Coffee
Instant Coffee Can Taste Great. You're Probably Doing It Wrong
-
Guide
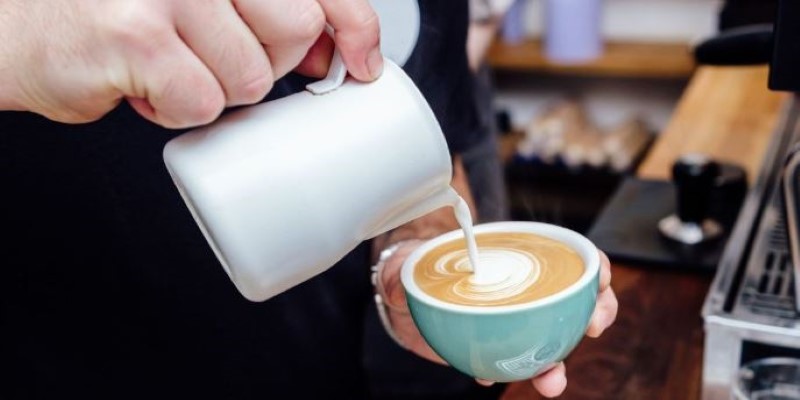
How To Steam Milk Like A Pro: Get That Velvety Cappuccino Foam Tonight
-
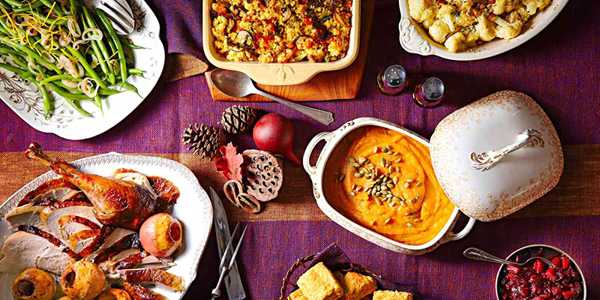
Recipe
Top 20 Thanksgiving Foods For A Memorable Holiday Dinner
-
Guide
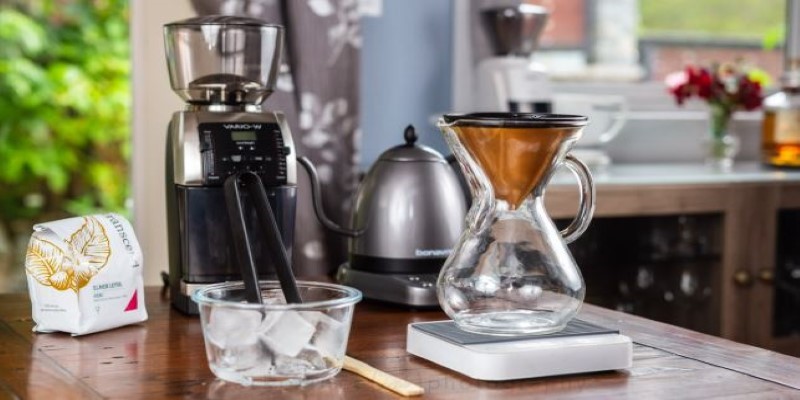
The Japanese Iced Coffee Method That Gives You Crystal Clear Flavor
-
Coffee
7 Coffee Accessories Under $30 You Must Own Before Tomorrow Morning